Thursday, October 28, 2010
Found Art
This week I was back at Dunedin Public Art Gallery for a promotional shoot. I'd already taken some venue pictures during a graduation party so this time the job was to create some shots that promote it as a wedding venue. That called for two delightful models, Victoria and Hamish who my wonderful client Tim Pollock convinced to work for me. They were very convincing as newlyweds, especially considering they won't actually be getting married until next year. I wonder if they've booked a shooter yet?
So to the shoot. The post on these pictures isn't totally finished, but this blog is about the process, not the product.
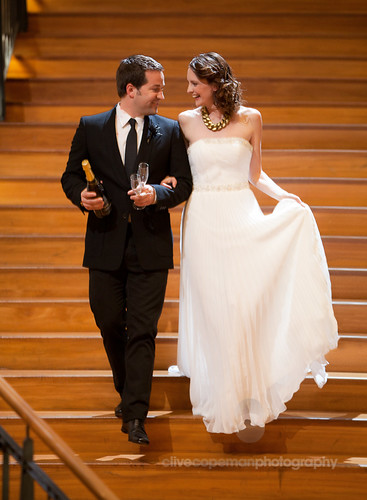
The gallery atrium is a large and lovely space, but for intellectual property reasons, I needed to avoid featuring the large wall and installation art. That meant concentrating on features like the staircases and windows. It was quite an exercise in lighting and as with most gigs, time was a factor. The large windows meant I had to work with changing ambient light. I'm pleased with the shot above, which was achieved with a mix of daylight from the windows, the in-house lights and a couple of flashes - one on a stand for fill and my voice-activated-lightstand Mike T holding one for a hair light. If anything, this shoot really showed me the dramatic difference good hair light can make.
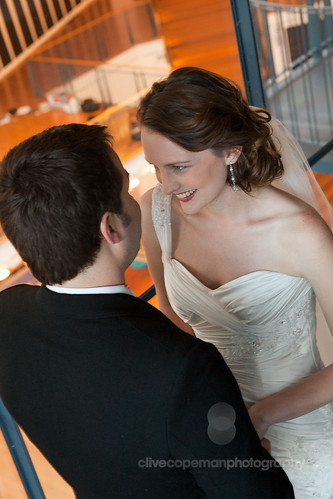
The shot above was lit with my Orbis ring flash adaptor. This is one that could have used a hair light just to add that touch of glamour, but they were standing against a tall window here and I was racing the outside light.
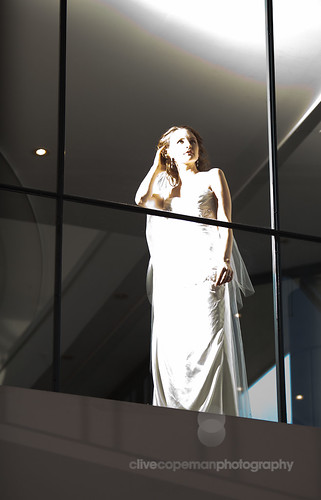
This is one of my favourites. It wasn't on the shot list and my wonderful client Tim may not use it, but I like it. Between setups I noticed Victoria arranging her hair in the window's reflection and I thought it would make for a nice intimate moment. This was actually a test pop, rather overexposed and brought down in post-processing, but it's got a kind of high fashion look that I really like and am adding to my trick bag. I'm a big believer in pursuing opportunities like this when you spot them. My old writing Guru John Vorhaus calls it 'found art'.
More found art. I noticed Victoria playing with the veil fabric and got her to have some fun with it. The spiral staircase was a feature Tim really wanted to capture but lighting it was quite a challenge. Big window daylight coming from camera right mixed with tungsten venue lights. I really needed to bring in some more light from camera left, but the only place to put one on was a mezzanine floor twenty metres away. I was worrying about this the night before and decided to go into a film and video light hire company to see what could give me a 3 metre spread of light at such a distance. I ended up loading my truck with an HMI, a big movie light. It just did the trick. The wall shadow is from one of the sculptures hanging from the ceiling. I figured a shadow wasn't really infringing the artist's IP.
Same setup, this time getting some shadow action from the staircase. Shame about the window in the background, but it is what it is. This and the other stair shot were on Tim's must have list, so I'm glad they turned out well.
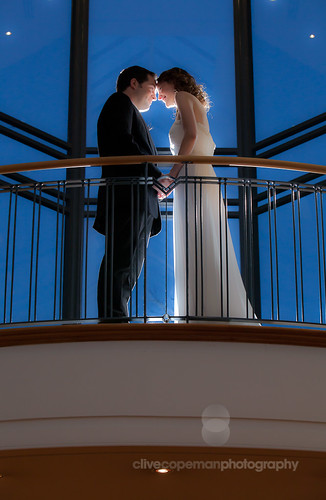
Finally, the ambient light outside reached the point where I could get my window shots. I these had firmly in mind although I've never actually executed the technique before. I added a low flash in background to create the romantic back light and also give their faces a little fill. Most of the fill is actually coming from the flash reflecting from Victoria's dress - a handy trick for wedding photography, traditional brides make walking reflectors.
Tim wasn't quite expecting this, so it was nice to deliver it quickly on the night, and he was pleasantly surprised. I think it sells the venue nicely. I certainly hope so!
Have you ever had an experience with "Found Art" in your creative process? Feel free to share with me in the comments section.
Wednesday, October 20, 2010
The Fader
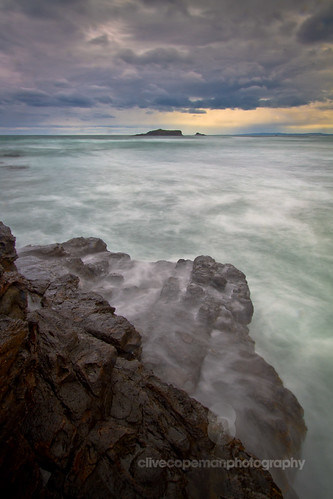
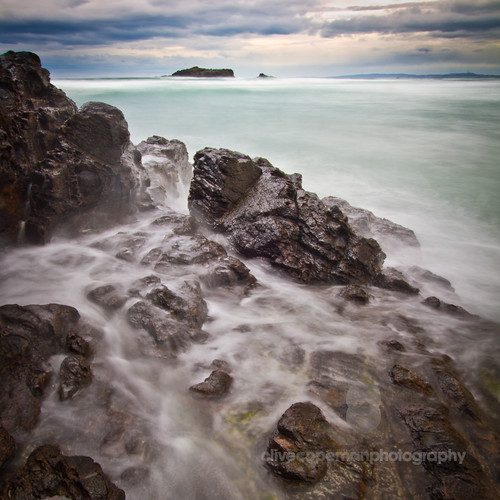
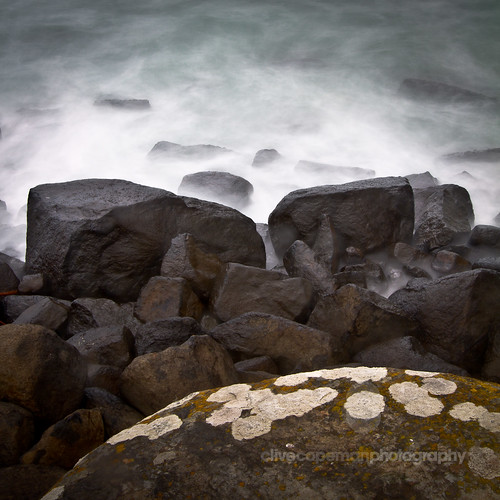
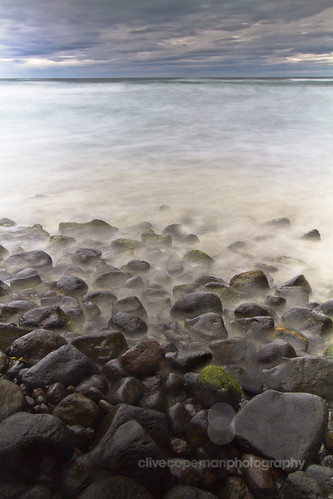
For ages now I've been wanting to do some long-exposure water shots along the rocky shoreline. I'm talking exposures of at least 5 to 10 seconds, to turn the waves into a mist-like veil over the rocks. The problem with such long exposures is that even at apertures as tiny as f/22 and ISO at 100, ordinary light levels will blow out your highlights so much all you'll see are a few dark rocks. That means dusk or dawn shooting - golden hour stuff. If conditions are right, you're going to get stunning stuff, but the right combination of tide, sun and weather doesn't come too often.
The answer is to use a neutral density filter. It's a plain grey filter that just cuts down the amount of light reaching your lens, so that the time needed to get a good exposure is longer.
I've had a little ND filter for a while now, but it wasn't really dark enough to knock daylight right back, and it's too small to fit my new L-series lenses. So the other day I sent away for a Light Craft Workshop Fader ND II filter. It'll allow you to drop your exposure by 2 to 8 stops. It had been sitting in my bag for a few days, so yesterday I decided to brave the wet and windy conditions and head over the hill to Smaill's beach to give the thing a test run.
To say conditions were sub-optimal is a gross understatement. The wind lashed me and my gear with sand, and I was constantly wiping rain from my lens. I got a handful of shots that demonstrated the effect, but nothing great. So I went out again today and got the images you see here.
Lessons learned? The first one is that like all landscapes, you've still got to have a good strong focal point to your picture. The flowing effect is nice, but it's got to be balanced by some clear fixed stuff in the frame, like exposed rocks. Getting that balance right isn't easy, but I'm working on it. Plenty of lens wipes are essential. You're going to want to be close to the wave action, so be prepared to protect your gear from the salt spray with a housing or rain jacket. I find plastic shower caps or food covers really convenient. You'll also need to check your lens for spots frequently. There are a few shots here spoilt by the odd rain or wave spot or two (I tidied most of those up in lightroom). Plenty of lens wipes and a little lens fluid will help too.
Next steps? Well, Smaill's is handy, but there are better spots to try - like the classic Moeraki boulders. I also want to apply the technique to wind blown grass in a paddock, and clouds, both at night and during the daytime. All that, and some of it in golden hour light. Maybe then I'll have something really good.
Stick around, there's plenty to do before then.
Monday, October 18, 2010
The Cutting Edge
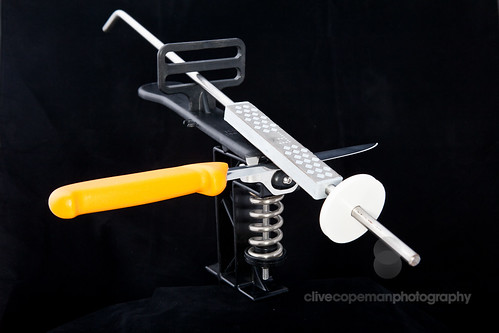
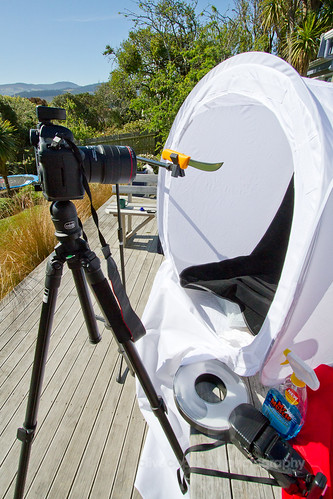
Since it was a warm spring day, I decided to set up out on my deck and use the natural light and my new 80cm cube light tent.
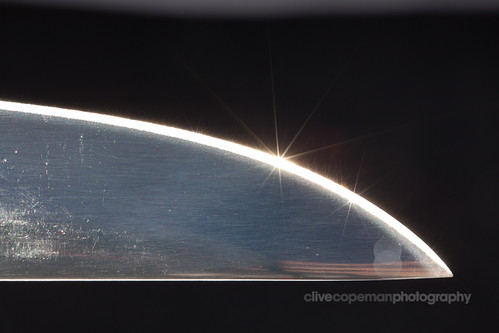
The light tent gives you nice soft even light all around your subject should you need it and you can also insert coloured backdrops. As you can see, I improvised and used one of my microphone stands for holding the knives. I find mic stands nice and steady supports for lights as well, and mine have boom arms which make them doubly useful. It was so nice out there I really went to town, trying to come up with shots that would give the designers lots of creative options to depict the blades in their artwork. I love this kind of creative collaboration.
There are hazards with this kind of work. As usaual, you get so focused on what's in the viewfinder, you can easily forget that there's something very sharp placed in the perfect position to perforate your eyeball or slice your cheek open. Luckily I got away without any major wounds, but while I was revelling in the nice strong (and free) light all afternoon, I did forget that the back of my skin neck was exposed to the UV. That's one advantage of strobes or studio lights.
I just heard from one of the graphics lads that he's very happy with what I brought to the brief so happy client, happy photog and as usual, valuable lessons learned.
Note for next photography shopping list: sunscreen.
Saturday, October 16, 2010
Man Flu
On the picture front, I've been doing a little more commercial work lately, doing some product shooting with a light tent. I'll put up a post about that soon. I also just got a cool new filter which will be the subject of another.
Meanwhile, check this out. Better posted to my blues blog I know, but if you like my pictures, we might just like the same music. I've been a fan of Darren's for over 20 years now, and like a good whisky, he's aging very well. His new album is definitely worth checking out, he's world class.
Thursday, October 7, 2010
Giving a little back
If you're a regular here, you'll already know I help out a little with promoting the Dunedin Gasworks Museum. You'll also know I'm a bit of an Orokonui Ecosanctuary fan. So now I'm doing just a little for them too.
I'm donating one of my wildlife prints to their charity gala.
It's 600 x 400 mm, block mounted. I'm hoping someone makes a good bid for it and it raises some money for the cause. The event is to raise funds for the relocation of some Haast Tokoeka (kiwi). I hope if you're in town, you'll get behind it.
A Walk on the Wild Side
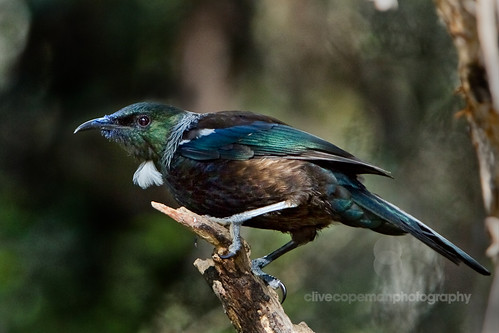
It's kind of ironic that I wanted to work in natural history film making but wasn't really into doing nature photography. I have my reasons. The main one was that I just couldn't afford the lenses. I know, it's not about the gear, but if you're serious about wildlife photography, you really do need some big lenses to get close to the critters. Especially when they're birds.
The other thing is that I've never really had enough patience. That's ironic too, because as a freshwater angler I've needed tons - not to mention a willingness to go home empty handed. But having Orokonui Ecosanctuary so handy, there's really no excuse for not getting out there and practicing, so that's what I've been doing on my last couple of excursions. I decided to apply the golden rule of trout fishing.
1. Sit and watch. Instead of my default tendency to run around trying to take everything in as fast as possible, I just found a spot the birds were likely to appear at and waited for them to come to me. In this case, it was near a feeding station. Smart fishermen do this too, before blundering into the water and scaring fish they haven't already seen. Often you'll discover a behaviour pattern - like a repetitive feeding beat that you can take advantage of. What I discovered here was that half of the time, the birds landed on a particular branch to eye up the food. That let me pre-focus on where they would land and give me a more natural background than the station itself.
I had my camera set up on a tripod with a 2x extender on my Canon 70-200 IS 2.8 zoom, giving me a potential 400mm focal length, which is about the minimum for serious bird shooting. Wide open though, the results can be pretty soft, and the narrow DoF can mean that if you prefocus on the landing site, your birds eye may not always be tack sharp. I was using my wired remote to get these shots, but basically had to sit by the tripod anyway. Next excursion, I'll think seriously about losing the extender and getting the camera closer, maybe in a tree, using my Joby Gorilla pod. I'll also use my wireless remote trigger, as soon as it's repaired.
So no trophy winners from my trip, but I'm a step closer to getting some next time. I especially want to nail a better version of this - a bellbird with a dusting of blue fuschia pollen.
If you're from Dunedin and haven't checked out Orokonui yet, do yourself a favour and get up there. The birds aren't as bountiful as Karori or Tiritiri Matangi yet, but it's early days, and all you need to see something special is a little patience.