
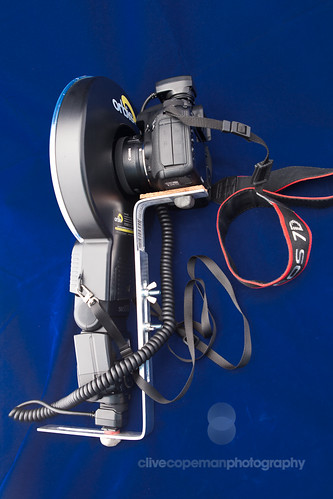
I've had my Orbis ring flash adapter for a bit more than a year now and I love the soft, even light and trademark shadow it creates. If you're shooting with it for an extended period of time however, it can be pretty fatiguing to hold your rig, and lots of zooming or manual focus can become a real hassle.
That's why buyers began screaming out for an adapter to hold the Orbis onto their cameras and being smart, that's why its manufacturers took their time to create one that would work and last long. When they finally brought it out a few months back, I'll bet more than a few Orbis owners thought "well I could have made that". I know I did.
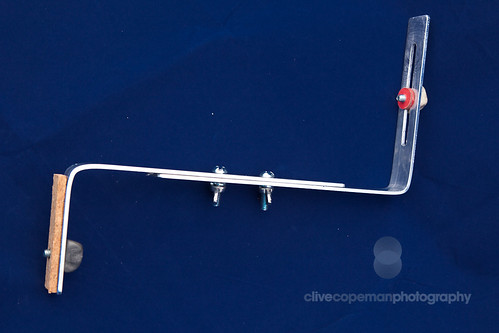
So the other day, I decided to pop down to my local Mitre 10 Mega store for the hardware to build my own version. There are similar hacks all over the net, like here but here's my recipe:
Ingredients:
1x 1000mm x25mm x 3mm aluminium bar (approx. $NZ 9.00)
2x 25mm 1/4" threaded bolts - I recommend hex heads, but slots will do
2x 1/4" threaded bolts - about 1/2 inch if you can find them.
2x 1/4" wing nuts
2 spring washers
1x fibre washer
1 strip of cork floor tile
2 blobs metal putty
You might have to run around for the bolts - the camera fittings that you need them for are in imperial measure, so not that common any more. I ended up going to Steel & Tube to get mine.
Cut the bar into 2 lengths, drill holes for the camera mounting and adjustable section on the camera portion. Drill slots for the flash mounting and the adjustable section on the flash portion. Smooth rough edges, bend into right angles.
Glue the cork to where you're going to sit your camera. Mould the blobs of putty around the bolt hex-heads to make knobs and let them cure overnight.
That's it. To assemble, fit both sections together and fix with the bolts and wing nuts.
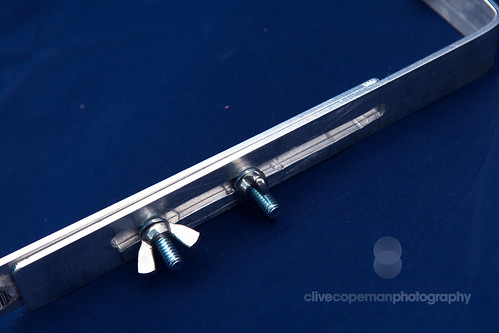
Use the knobs you made to fix the camera and flash. If your bolts are a bit long, use fibre washers to make them a nice tight fit to stop things spinning in the mount.
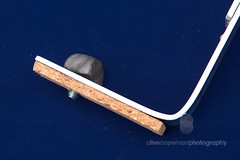
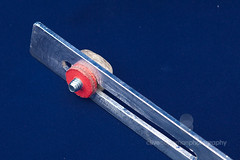
Hey Presto. The aluminium I used is a little thinner than the real version, but I think it's going to be fine.
The job done, it was time for my assignment: a couple of shots of Miss C(7) as her school's indoor soccer player of the day. You might think this would be easy, but she can be a hard model to direct and when she's also the demanding client, it becomes a hard job indeed. Hardly worth my hourly rate, believe me.
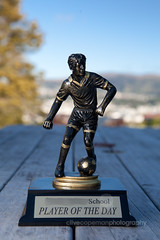

In terms of material cost, I probably saved myself about a hundred dollars. But if I was charging for my time and skinned knuckles, I'd probably be out of pocket. DIY can be like that, but the feeling of satisfaction you get from it is priceless. A bit like taking pictures of your player of the day.
Definitely a Dad thing.

Great job .Thanks for sharing such an amazing blog.Keep up writing.
ReplyDeleteHexagonal floor Tile