Monday, April 20, 2015
We have moved!
The time has come to consolidate things, so with the makeover of my website, I've moved my blog to the Wordpress platform on my site.
I'm still telling my photo stories though, and I'd hate to lose you so do please head over here and change your bookmarks.
See you there.
CC
Tuesday, April 7, 2015
Oteake
It's been such a busy year. With all the work I've had there's been little opportunity to just go out and shoot for fun, so when I realised on Good Friday that I had no commitments, I decided to get out of town with my fishing rod, mountain bike and cameras.
Here's the result: A little highlights reel from my visit to Oteake Conservation Park near St Bathans.
Enjoy.
Here's the result: A little highlights reel from my visit to Oteake Conservation Park near St Bathans.
Enjoy.
Thursday, March 5, 2015
Photographing the Forestry Industry

My dad knew I loved hard work. He used to joke that I could sit and watch it all day long. It's kind of true, I find a nobility and beauty in industry that matches high level sport any day, so when I get an industrial assignment, as I reach for my hi-vis vest and steel caps I'm already wearing a grin.
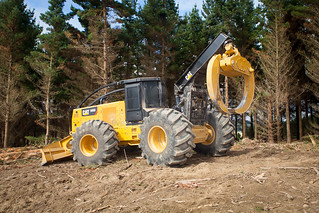
Yesterday was a double-header. The first job was in the morning for Gough-Cat. Their 555D is new to New Zealand and there just happened to be one operating up on Long Spur road near Trotters Gorge. I'd been asked for some hero shots. This one didn't make my cut for the client so I can share a small version:
The day was fairly dull, which helped me give the Cat a little more smack with a pop of on-camera flash. It was just enough and no more. I'd actually brought a studio light and power pack in case I needed more punch, but it was a pretty busy operation and there wasn't really the need to overpower the ambient light... not that it wouldn't have been fun!
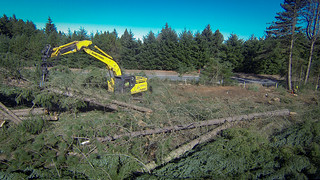
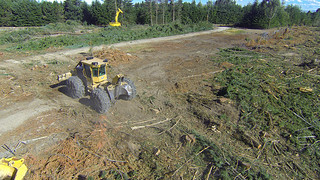
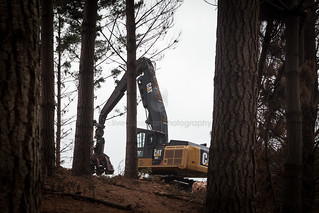 What really struck me about the operation on site was the absence of men on the ground. Extracting these logs was a fully mechanised operation. One monster stalked the hills, cutting the trees; the Scorpion-like 555D dragged them in bunches to be processed, while two other monsters hefted every tree, stripped them of branches and bark, sawed them to length, dumped the unwanted ends, and neatly stacked the finished logs. It was terrifyingly efficient. And all very safe, inside those reinforced cabs.
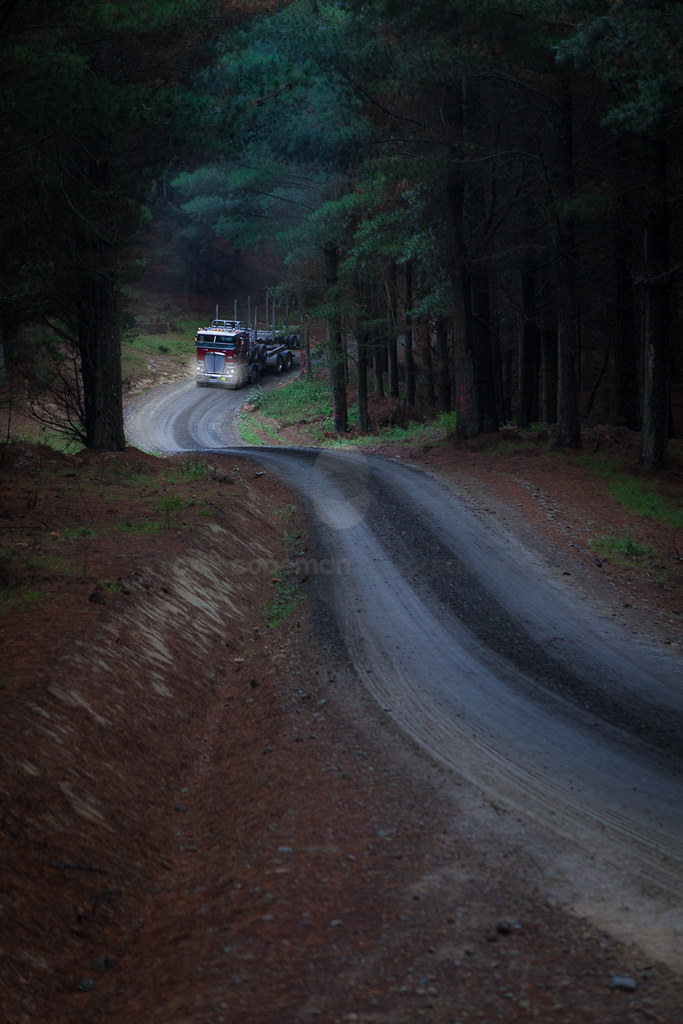
The mission task accomplished, it was time to head to the next gig, but not before a brief pause on the road back out. There was a little coastal cloud creating some beautiful atmosphere in the lit patches, and I couldn't help thinking it was a beautiful location for a fashion or beauty shoot. But industry has its own special beauty and I love to capture it. This was one of the logging trucks coming in:
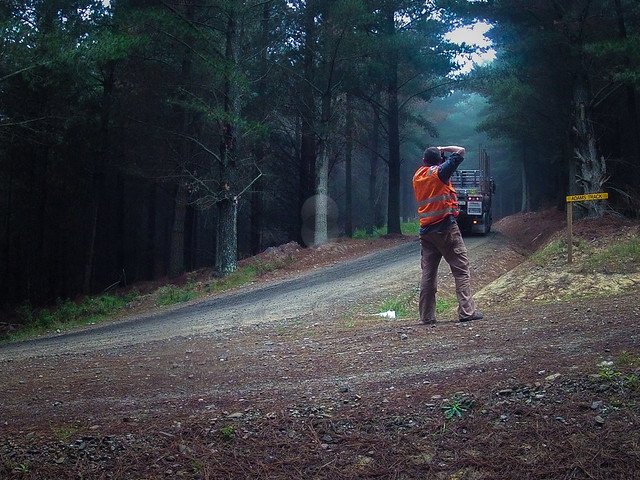
Portrait of the artist as a working man there. I love the subtle blue haze coming in through the green pines.
Time for some fun detail shots before departing.
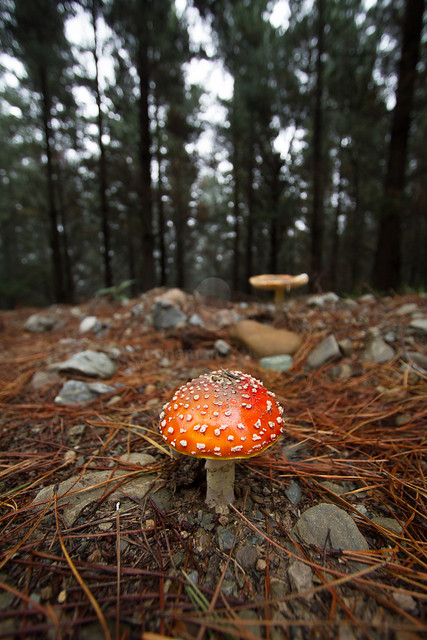
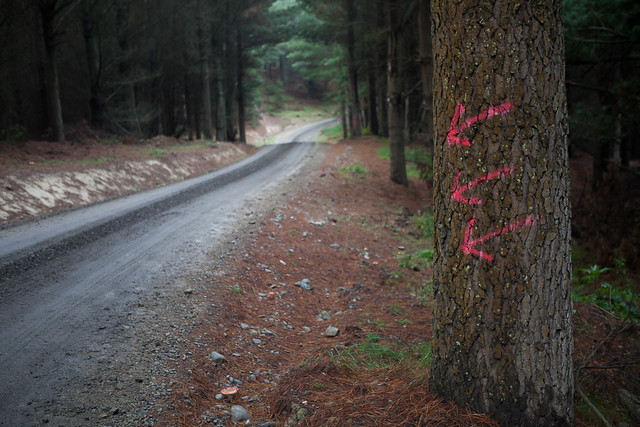
I think it's always important - where there's time - to exercise your aesthetic muscles whenever you can, just stop and smell the pine needles. It keeps you open to what's in front of you when you're on the job.
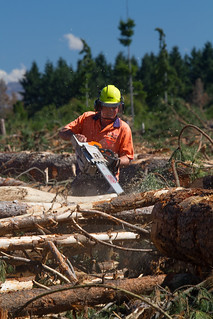
Naseby was to be a video shoot and a different proposition altogether. Many of the trees had already been felled, and I was mainly there to shoot some aerials of the operation. That didn't stop me shooting some stills though.
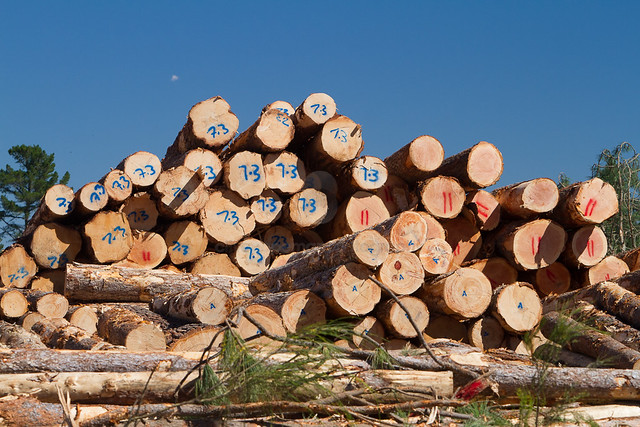
The Naseby operation differed in that it had some bushmen on the ground. On a hot, still day like this, these boys earn every dollar they're paid.
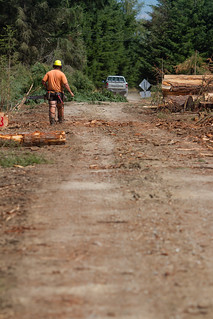


And tomorrow? Back to Naseby. Got to complete the video sequence.
These have been some big tiring days, not without some physical effort and skull sweat of my own but by the time I'm done I'll have captured the whole process of log exports, from harvest, through transportation to vessels loading at the export ports. It's been a great assignment. I love the opportunity to tell the whole story.
My Dad was right. Whatever it is you want to call what I do, it sure beats working.
Monday, February 16, 2015
Daylight Flash: Popping with Leslie Rugby
I've been working with Otago Rugby legend John Leslie of Leslie Rugby again over the last couple of weeks. We're shooting some young grass roots players for instructional material for his coaching workshops and web videos. Soon all the stuff I've been doing for him over the last several months will be transforming the appearance of his website and online commerce.
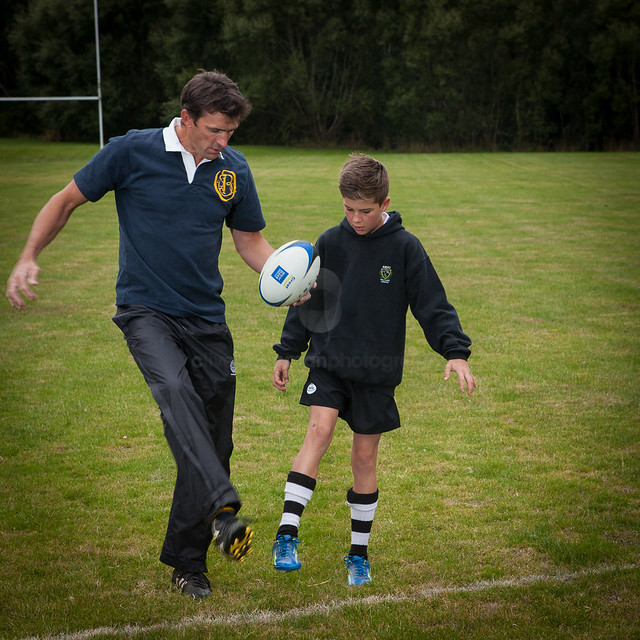
Son of All Black captain Andy Leslie, John played 123 games for Otago and 32 for the Highlanders in the Super 12. He led Otago to the National Provincial Championship title in 1998 and then went on to play for Scotland (scoring the fastest every try in test rugby, a blink-and-you'll-miss-it 10 second effort against Wales in 1999), Northampton Saints and Newcastle falcons. He's what we call a top bloke and I love working with him to get exactly what he needs. He's got a terrific product and his coaching really works. The young players he works with are really impressively skilled and soak up his instruction like the perfect little learning machines anyone under 18 is. Boy I wish I still had that ability to learn quickly.

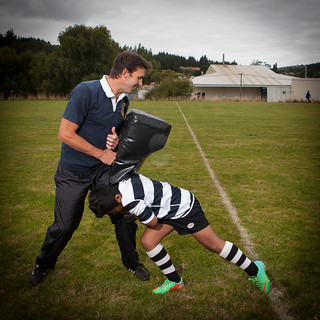
So anyway, some of my own students are dipping their toe in the world of lighting, so a little story from the latest shoot might be instructive for them.
I'd already shot some instructional poses the week before. They did the job, but I wasn't exactly thrilled with the result. I was using natural light only and the conditions were pretty variable. I chose to shoot natural light because a light on a stand just wasn't ideal as we had a lot to get through and there were balls and bodies flying everywhere. That'll teach me. Normally I break into a sweat at the thought of leaving the house without at least two speedlites and rightly so.
Now and again the shots were just a little flatter than I'd have liked. Lacking you know - pop. It's okay, but I really want something a little better than that for my clients. And lets face it, it's not hard to add a little light.
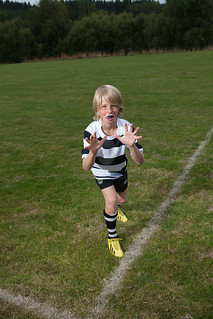
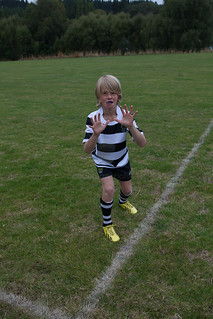
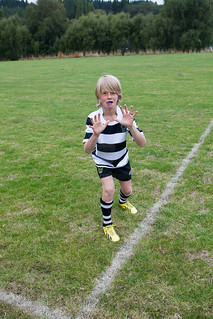
Our second shoot started on an even duller morning, but I came prepared to add a little pop - from a stand and a single off-camera speedlite triggered from my camera with a cheapie radio trigger, all exposure handled manually. Underexposing the ground slightly and lighting from the side helped pop the players off the background and also sculpted them a little more. The low ambient light provides enough fill in the shadows, but the speedlite is the power player here, not the sky. The difference is obvious, even when I take an unlit shot and hit the auto tone button to brighten things, our player is a little more three dimensional with some strong directional light on him.
See below: Lit, unlit with same exposure, then the same unlit photo with tonal adjustments in Adobe Lightroom.
I've learned my lesson, even if it took me a little longer than John's young players. Everything looks good when you put it in a better light.

Son of All Black captain Andy Leslie, John played 123 games for Otago and 32 for the Highlanders in the Super 12. He led Otago to the National Provincial Championship title in 1998 and then went on to play for Scotland (scoring the fastest every try in test rugby, a blink-and-you'll-miss-it 10 second effort against Wales in 1999), Northampton Saints and Newcastle falcons. He's what we call a top bloke and I love working with him to get exactly what he needs. He's got a terrific product and his coaching really works. The young players he works with are really impressively skilled and soak up his instruction like the perfect little learning machines anyone under 18 is. Boy I wish I still had that ability to learn quickly.


So anyway, some of my own students are dipping their toe in the world of lighting, so a little story from the latest shoot might be instructive for them.
I'd already shot some instructional poses the week before. They did the job, but I wasn't exactly thrilled with the result. I was using natural light only and the conditions were pretty variable. I chose to shoot natural light because a light on a stand just wasn't ideal as we had a lot to get through and there were balls and bodies flying everywhere. That'll teach me. Normally I break into a sweat at the thought of leaving the house without at least two speedlites and rightly so.
Now and again the shots were just a little flatter than I'd have liked. Lacking you know - pop. It's okay, but I really want something a little better than that for my clients. And lets face it, it's not hard to add a little light.
Our second shoot started on an even duller morning, but I came prepared to add a little pop - from a stand and a single off-camera speedlite triggered from my camera with a cheapie radio trigger, all exposure handled manually. Underexposing the ground slightly and lighting from the side helped pop the players off the background and also sculpted them a little more. The low ambient light provides enough fill in the shadows, but the speedlite is the power player here, not the sky. The difference is obvious, even when I take an unlit shot and hit the auto tone button to brighten things, our player is a little more three dimensional with some strong directional light on him.
See below: Lit, unlit with same exposure, then the same unlit photo with tonal adjustments in Adobe Lightroom.


I've learned my lesson, even if it took me a little longer than John's young players. Everything looks good when you put it in a better light.
Thursday, January 8, 2015
First Presbyterian Church, Dunedin
I went to church yesterday. Not something I make a habit out of, but with most Dunedinites away on Summer vacation, business is nice and quiet. I've been meaning to pop up the road and take some new interiors of First Church for a while now, so it was a good time to go and shoot something just for myself. It was also a good opportunity to try my new Canon 8-15mm fisheye zoom.

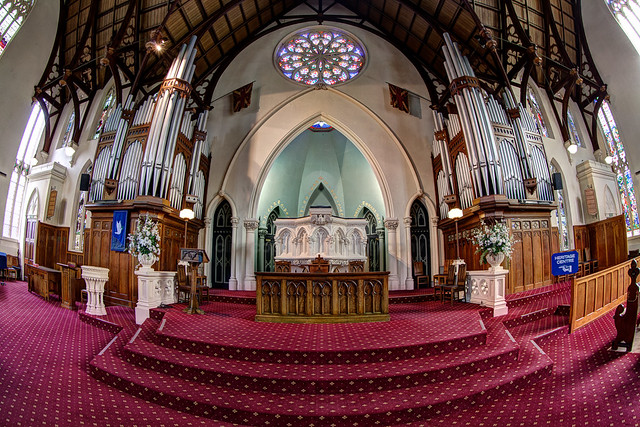
The results speak for themselves, even though this shot has benefited from blending 3 exposures - there's a lot of shadows and highlights to deal with in the old Kirk, so I've done a little HDR tweaking. This is the full fisheye, 8mm on my full frame Canon 5DII. To be honest, I was more than reluctant about getting this lens, I'm already happy with my old 8mm Peleng, but the Canon was a technical requirement for a certain job. At about 3x the price, I expected some improvements. At f/4 it's just a little slower than the f/3.5 Peleng, but it does have AF and the ability to set the aperture on the camera - the Peleng is fully manual. The image quality is definitely nicer and the ability to zoom out to 15mm is pretty cool too:
After fun with the fisheye, I put on my Samyang Tilt Shift lens, another fully manual beastie. The idea was to create some large format pictures of the interior by shifting the lens and combining portrait mode pictures. Again, I added a little HD tweak. Just for comparison, here's the single portrait orientation frame, straight out of the camera:

I love the green in the alcove behind the pulpit, the natural light effects in there really help give it some depth. HDR just helps it all pop a little. Here's the HDR stitch, 7573x5671 pixels :

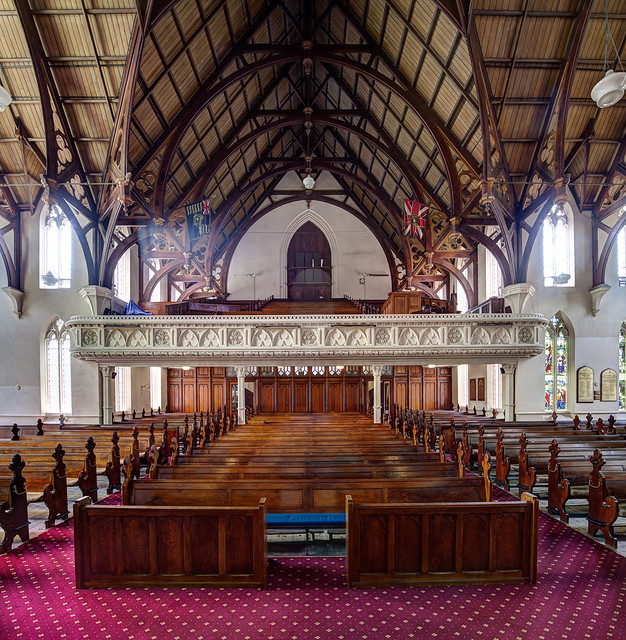
At 15mm the fisheye is funky, but the details in the stitched 24mm fixed lens shots are beautiful, although the method is not without it's own idiosyncrasies. You still get a reasonably strong parallax or perspective distortion. That could be fixed with the shift function of the lens, but then combining the frames becomes a different exercise which I wont bore you with. Lets just enjoy the shots, eh?
The stitched view from the pulpit comes in at 7209x7369 pixels:
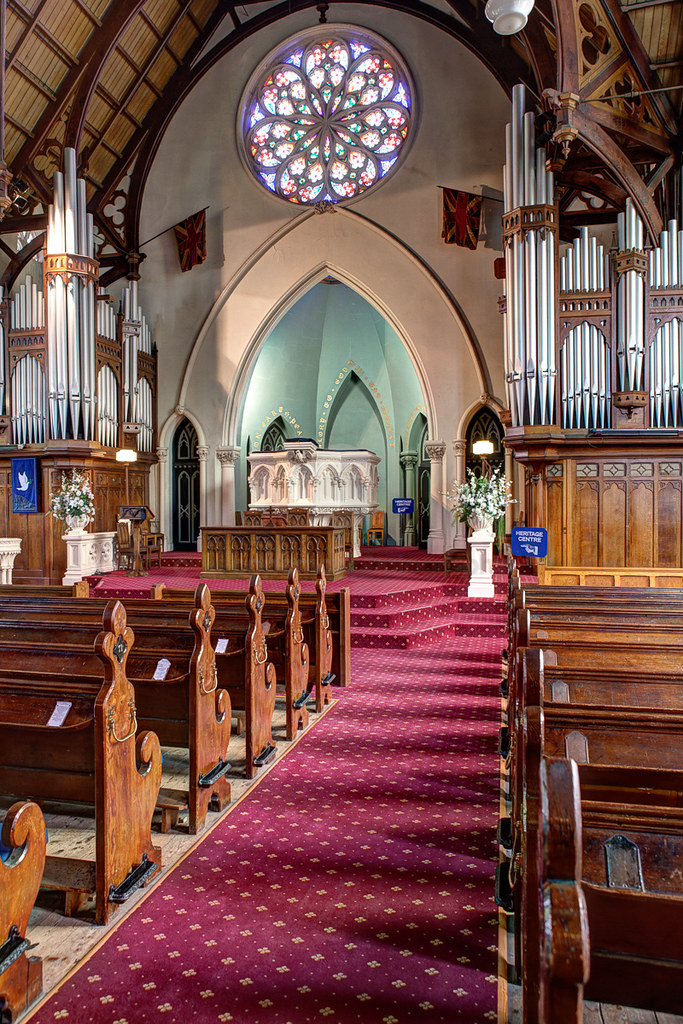
Although I like saturation and light, I'm not one for really lurid HDR, pushing the sliders all the way, so these are subtle exposure blends rather than full on tone mapping. I may want to use these as composite backgrounds one day, and with that in mind, I shot some frames down one of the aisles.
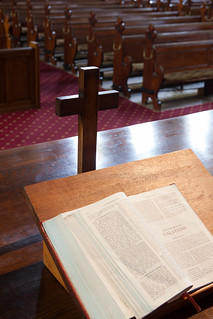
Of course, the big picture can only tell you so much about a place, so before left I shot some details with my workhorse lens, the Canon 24-70 2.8L.
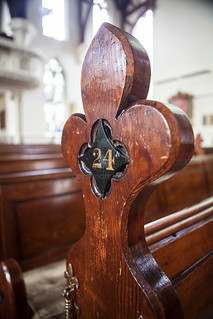

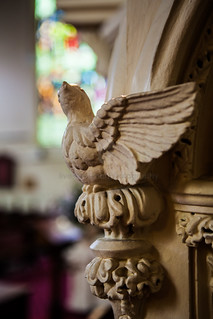
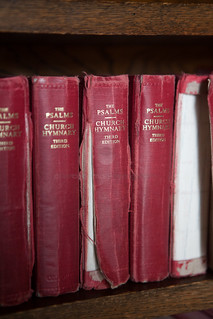

While I was doing all this I had a lovely chat with the Reverend John Sinclair who was in the Church's heritage centre. The building was designed by notable Otago Architect RA Lawson and John was able to point out many of its unique features, sturdy design and workmanship. Only a few small enhancements to some of the structure will see it exceed the current earthquake code handsomely.
So there it is. A little shoot just for me, no other purpose than some pictures in my bank for now. In a way, creating these pictures was a meditative process not unlike prayer. Although I profess to being an atheist, a grand old church like this is a beautiful, peaceful place to spend some time reflecting on things larger than yourself - and their glory.


The results speak for themselves, even though this shot has benefited from blending 3 exposures - there's a lot of shadows and highlights to deal with in the old Kirk, so I've done a little HDR tweaking. This is the full fisheye, 8mm on my full frame Canon 5DII. To be honest, I was more than reluctant about getting this lens, I'm already happy with my old 8mm Peleng, but the Canon was a technical requirement for a certain job. At about 3x the price, I expected some improvements. At f/4 it's just a little slower than the f/3.5 Peleng, but it does have AF and the ability to set the aperture on the camera - the Peleng is fully manual. The image quality is definitely nicer and the ability to zoom out to 15mm is pretty cool too:

After fun with the fisheye, I put on my Samyang Tilt Shift lens, another fully manual beastie. The idea was to create some large format pictures of the interior by shifting the lens and combining portrait mode pictures. Again, I added a little HD tweak. Just for comparison, here's the single portrait orientation frame, straight out of the camera:

I love the green in the alcove behind the pulpit, the natural light effects in there really help give it some depth. HDR just helps it all pop a little. Here's the HDR stitch, 7573x5671 pixels :

At 15mm the fisheye is funky, but the details in the stitched 24mm fixed lens shots are beautiful, although the method is not without it's own idiosyncrasies. You still get a reasonably strong parallax or perspective distortion. That could be fixed with the shift function of the lens, but then combining the frames becomes a different exercise which I wont bore you with. Lets just enjoy the shots, eh?
The stitched view from the pulpit comes in at 7209x7369 pixels:

Although I like saturation and light, I'm not one for really lurid HDR, pushing the sliders all the way, so these are subtle exposure blends rather than full on tone mapping. I may want to use these as composite backgrounds one day, and with that in mind, I shot some frames down one of the aisles.

Of course, the big picture can only tell you so much about a place, so before left I shot some details with my workhorse lens, the Canon 24-70 2.8L.


While I was doing all this I had a lovely chat with the Reverend John Sinclair who was in the Church's heritage centre. The building was designed by notable Otago Architect RA Lawson and John was able to point out many of its unique features, sturdy design and workmanship. Only a few small enhancements to some of the structure will see it exceed the current earthquake code handsomely.
So there it is. A little shoot just for me, no other purpose than some pictures in my bank for now. In a way, creating these pictures was a meditative process not unlike prayer. Although I profess to being an atheist, a grand old church like this is a beautiful, peaceful place to spend some time reflecting on things larger than yourself - and their glory.

Subscribe to:
Comments (Atom)

